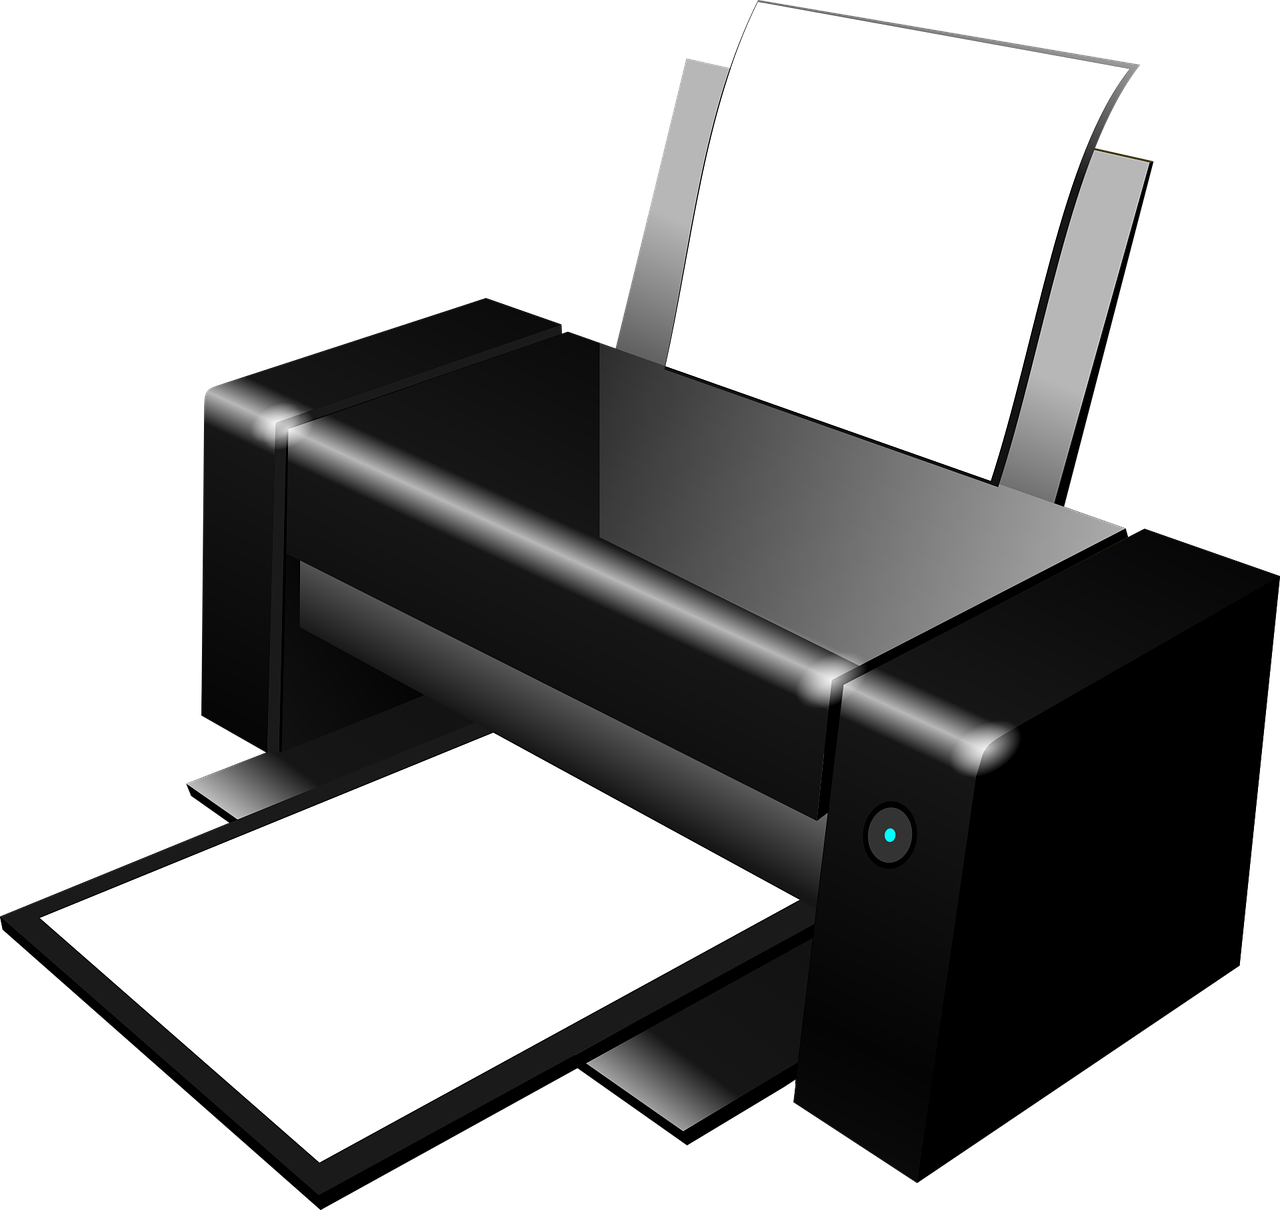
Using a Mac computer gives you countless sophisticated advantages. But it also means some things that are designed to be easy with other systems are a little extra complicated on your device. The preferences in the Apple menu aren't the same as in the Windows environment. Setting up a Kinoca Minolta network printer on Macs is one of those actions that seem complex until you break it down into pieces. We'll do that for you right here in this step-by-step guide. How familiar are you with your Mac device? If you don't know your operating system (OS), start here. If you already have it down pat, you can skip this first step. Otherwise, go to your Apple Menu, and click "About This Mac." This is the part that tells you what your OS (i.e., Mac OS X) is, and you'll need that info to download the printer drivers in Step Two. If your Kinolta Minolta doesn't already have the drivers downloaded, all you have to do is follow this simple process. It will show you how to download and install the driver to add the printer. Click the link that brings you to every driver available here. The landing page will ask you for the first few characters of your printer's product, such as a Bizhub 360i. If your search doesn't bring you the right results, take the letter off and only use the number (360). You'll get more results for the driver options that way. From there, click on the tab that says "Drivers" and scroll down until you find the printer driver that matches your Mac OS environment (that was our Mac OS X example earlier). Click "Download." Double click on the printer driver file you downloaded. This will unzip and go into your computer's "Downloads" folder. When the file opens, double click on the file named ".pkg installer." The next part is intuitive, as the system will walk you through it. Go ahead and accept all the defaults that come during the printer driver installation process. You'll have to enter the password to your computer when the prompt appears. Your next step is to get the printer recognized by the computer. To do this, you have to add the new device manually after you download and install the driver: Click Add, then the following process of the printer installation allows you to make adjustments or choose the default settings. If you're not confident about what printer functions you want or how you're printing network connection specifics, stick with the default settings already installed that came with the driver. The Konica Minolta printer is designed to give users many useful printing functions. These are adjustable in the Printing Presents setup. Consider this section what you'd see when you print a document, and the popup that says "Print This Page" appears. How do you want your items in the printer to default? The settings default to color printing and one-sided documents. However, you can adjust your computer to print to black and white or double-sided printing by going into the program you're printing from, clicking print, then System Preferences. You can also access accessibility instructions there. You can access all the setting features already installed and those you can install manually through the user's guide menu. These will vary depending on whether you're printing in the Windows environment, Mac OS X, or other Apple OS. The optional environment does make a difference in certain feature accessibility because the printer driver installs different commands. The Konica Minolta printer model will also determine the printing features you can use. Using the printer driver is simple once you add the printer, but to find out all the features you have access to, check the appendix. The printing procedure for your program now provides access to all the printers you've installed on your network, including your Konica Minolta. You can install the printer driver to other printers if you frequently change networks and set the Konica Minolta as your default choice. However, if you move to a machine with other connection settings, you can still use your program without using the printer. You can click add to the print queue, and when you've connected to the correct network again, your document will print. The Konica Minolta printer provides customizable features for your Mac OS X, Windows, and other environments. When you get familiar with your new options, you'll never want to use another printer that isn't a Konica Minolta brand!Getting Started - What's Your OS?
Step Two: Downloading Drivers
Don't Be Too Specific With Your Search
Installing the Driver
Configuring the Printer
Presets From the User's Guide
Multiple Printing Options
How Changing Networks Affects the Driver
Click the Print Button and Go!